As a yoga teacher, I’ve sometimes been asked by students to recommend DVD’s for doing yoga at home. My training and experience don’t happen to include practicing with DVD’s, so I feel somewhat unqualified to answer.
At the same time, whenever I get asked, I want to seize the opportunity to offer something to a student who is hungry for teaching in any form. And home yoga practice is one of the richest things I have found in life, so I support anything that helps a person find that.
In lieu of a DVD recommendation, these newsletters provide a great opportunity to offer guidance to those who want to practice at home. Below is a Simple Yoga sequence for you to try.
One of the most obvious benefits to doing this, as opposed to following a video, is that you can go at your own pace. Furthermore, you have space and time to explore, vary the sequence, customize it for yourself, and add to it as you feel you are ready for more advanced poses.
This sequence is short enough that you ought to be able to remember it after doing it a few times, so that you won’t need to look up at the computer screen between every pose (which is probably not good for your neck). When you get comfortable with it, there are poses you can add, and I’ve given a link to those below.
I’ve included pictures as well as descriptions. I recommend reading the descriptions a few times, trying it out, and then going back and reading it again. If you are paying attention to what you are doing, you will probably notice different details every time you do the sequence as well as every time you read over the description.
Here’s the sequence:
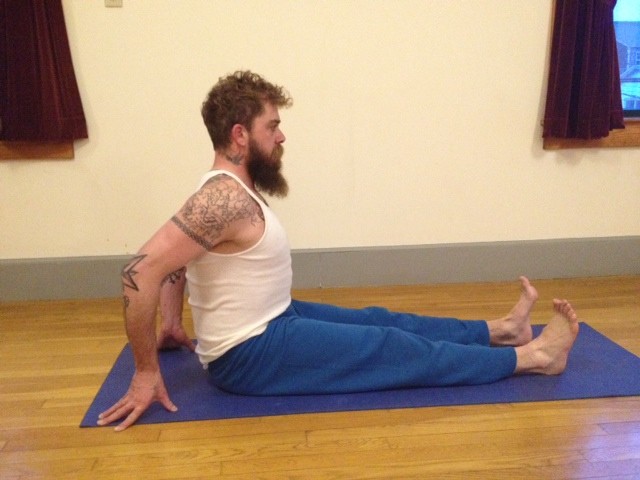
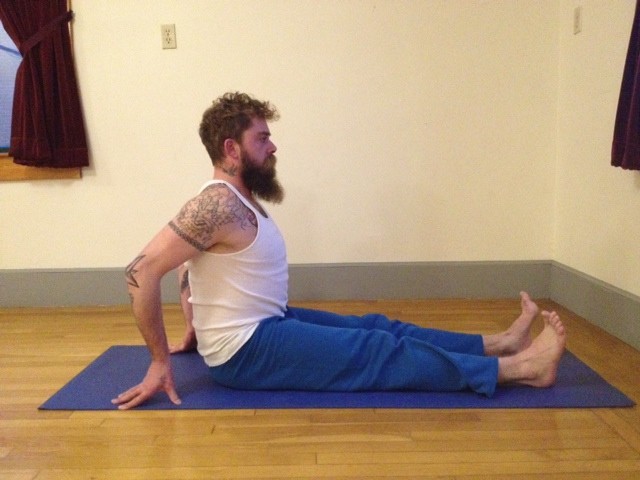
1. Dandasana
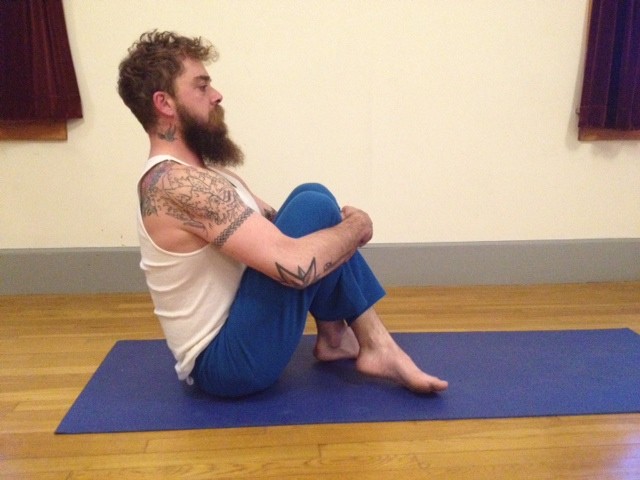
2. Sukhasana transition
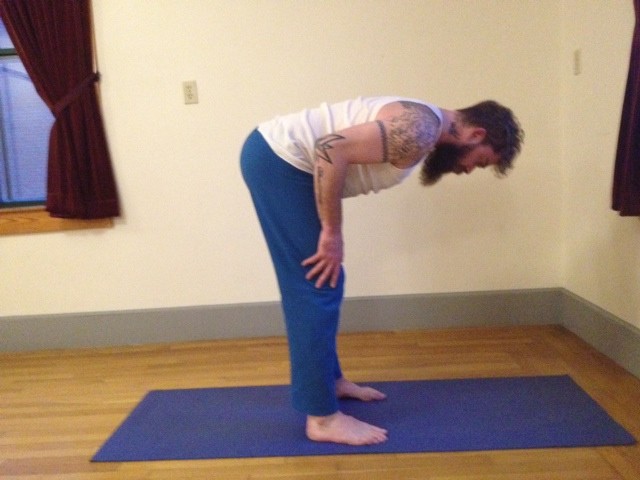
3. Uttanasana
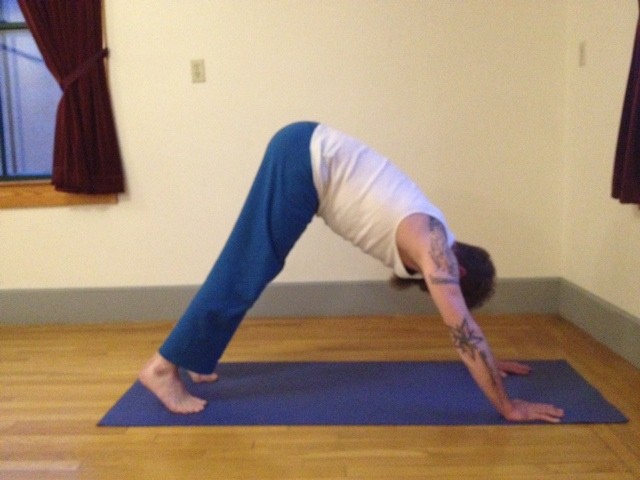
4. Down dog
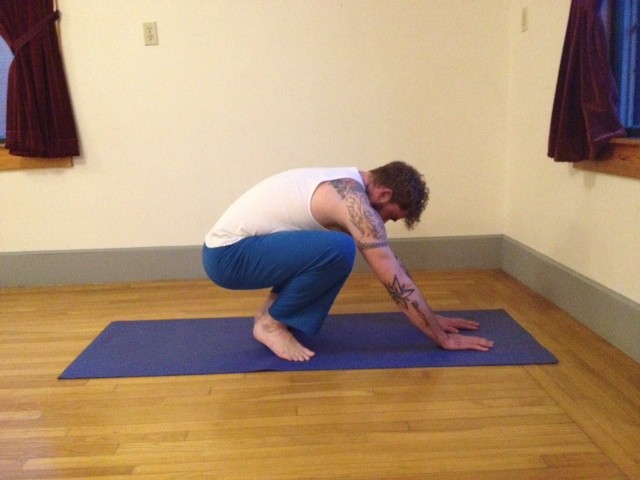
5. malasana
6. dandasana
Because it ends where it starts, you can cycle through the sequence as many times as you like. You can vary how quickly you move through it. A good place to start would be several breaths in each pose. If you are looking to build heat and find more movement, simply speed it up, paying attention to how you are transitioning. Also try challenging yourself to stay in each pose for a length of time… how long? A good rule of thumb is a little longer than is comfortable for you.
Here is the sequence with more detail and explanation:
1. Start in dandasana, lengthening your trunk upward.
2. Bend your knees and draw your feet in toward you, crossing the legs. Instead of bringing the knees down, as we often do in cross-legged sitting, keep the knees up (use your arms on your legs to help), and focus on lengthening the trunk upward.
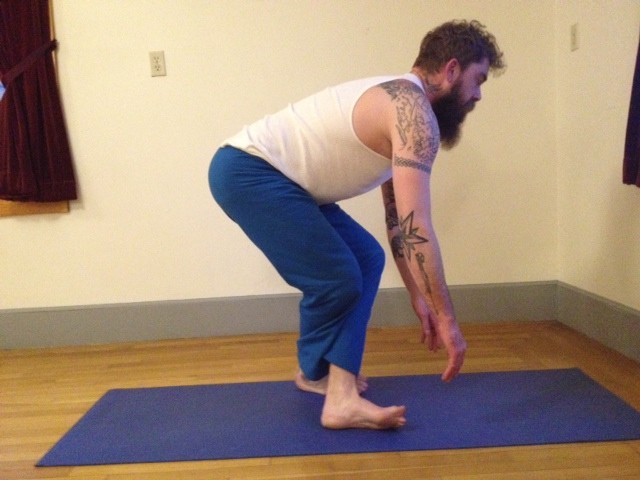
With the legs crossed, transition to standing. Use your arms to help as you need. If you want the challenge, try coming up without the hands touching the ground. If that is easy for you, try it without the legs crossed, feet next to one another.
3. Uncross the legs and stand in uttanasana (standing forward bend).
4. Walk the hands forward and the feet back to come into downward facing dog.
5. Walk, step, or hop the feet to the middle of the mat and come into malasana (squatting). If your knees don’t allow you to squat without pain, substitute uttanasana here, just like #3.
6. Use your hands to help you if you need to, come down onto your sitting bones, and lengthen your legs out in front of you so you are back in dandasana.
7. Repeat and vary!
If you get comfortable with the sequence and want to expand it and add more advanced poses, click here.
If you have any questions or comments, please write and let us know. We always love hearing from you. Happy practicing!